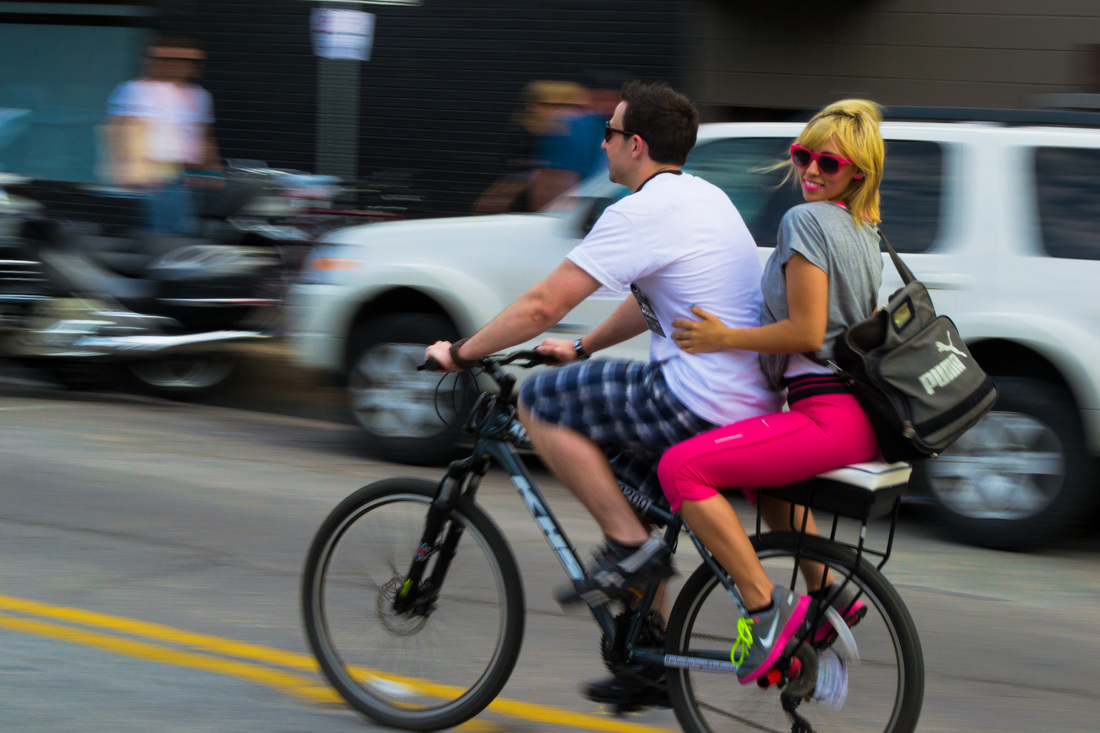
Every once in a while, we'll get a local bike seat purchase (local to the Bay Area) needing help with an axle-swap to install their bike seat, and I get the chance to personally meet them and help them with the installation of their bike seat.
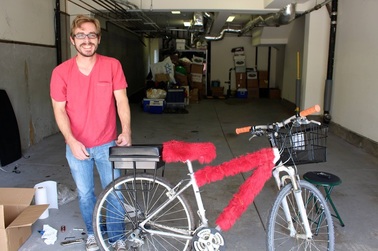
This weekend I had the pleasure of helping to install a bike seat on a bicycle that's heading out to Burning Man later this week! The bicycle was already complete with furry decorations and LED light strings, but it wasn't equipped for another passenger until now. The bike had a quick-release rear hub, so the owner bought the proper replacement solid axle a week prior, and once it arrived, I came over to do the install.
First I pulled the rear wheel off and removed the quick-release axle from the hub. I pulled all of the existing lock nuts, spacers, and bearing cones off the hollow (quick-release) axle and assembled them onto the new replacement solid axle. After greasing it up with some axle grease, the new axle was then inserted back into the hub of the rear wheel and everything was tightened down. Making sure the ball bearings are seated properly while inserting the replacement axle can be a little tricky, but after doing this three or four times, I've found an easy trick: just hold the wheel horizontal and use your finger to hold the ball bearings in place while the axle is inserted back into the hub. The entire process of swapping the axle from quick-release to a solid axle took no more than 30 - 45 minutes.
Once the solid axle was installed and the wheel was back on the bike I had the bike seat installed onto the bicycle in no time. First the pegs were tightened down onto the new solid axle, then the bike seat clamped onto the pegs and the seat post. We took this picture once the installation was complete and then took the bike out for a test ride ... success!
Next stop: Black Rock City to gift rides to fellow wayfarers!


 RSS Feed

